Fedora 28 Quick Start Guide
Since the mid-2000s, I have always had a computer to hand that runs Linux for more serious work. I personally prefer the KDE desktop to the Gnome desktop and I love using Kate as my text editor (I primarily programme and use a terminal). Whilst there are many Linux distributions that offer KDE (indeed, there are some non-Linux operating systems that offer it too) I have always run openSUSE and I have stuck with it through it being owned by Novell then Attachmate then Micro Focus. Each time an acquisition or a merger occurs the openSUSE project always seems to take a hit. Now, with the acquisition by EQT Partners I feel that openSUSE’s time is nearing an end.
![]() Therefore, after over 10 years of using openSUSE I have decided to call it a day and switch to a different Linux distribution: Fedora. Fedora is owned by Red Hat and I don’t see that changing any time soon [update 2018-10-28: IBM Buys RedHat; hopefully this won’t spell the end of Fedora being rock solid], so I like the prospective stability and support. The default Fedora installation uses Gnome but they do offer an officially supported version of Fedora that runs KDE. This article just covers some of the very basic things to get a working KDE installation of Fedora 28.
Therefore, after over 10 years of using openSUSE I have decided to call it a day and switch to a different Linux distribution: Fedora. Fedora is owned by Red Hat and I don’t see that changing any time soon [update 2018-10-28: IBM Buys RedHat; hopefully this won’t spell the end of Fedora being rock solid], so I like the prospective stability and support. The default Fedora installation uses Gnome but they do offer an officially supported version of Fedora that runs KDE. This article just covers some of the very basic things to get a working KDE installation of Fedora 28.
- Installation Notes
- nVidia Driver & Screen Scaling
- Enabling
sshd - Enabling (& Installing) Non-FOSS
- Upgrading To Fedora 29
§1 Installation Notes
I grabbed the ISO file and burned it to a USB stick using dd. Booting off the USB stick worked fine once I entered the Troubleshooting menu and started it in Low Graphics Mode (I am glad to see that the pain of using a nVidia graphics card with Linux still exists). Using Anaconda went well and I had a fresh desktop installed in minutes.
§2 nVidia Driver & Screen Scaling
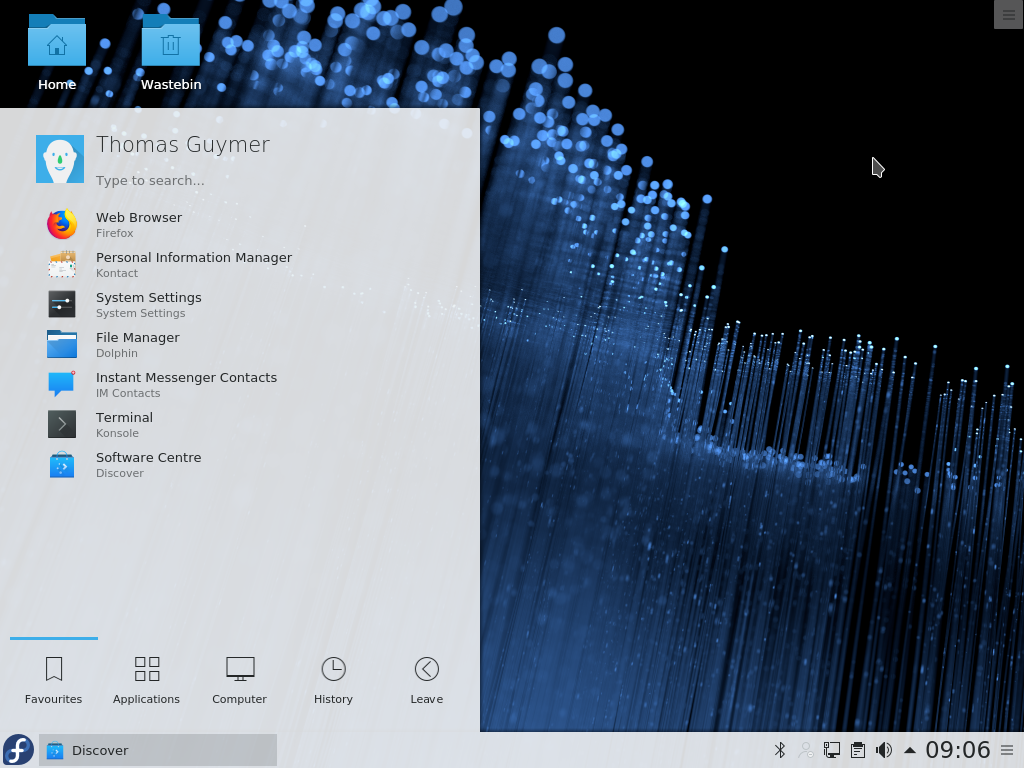
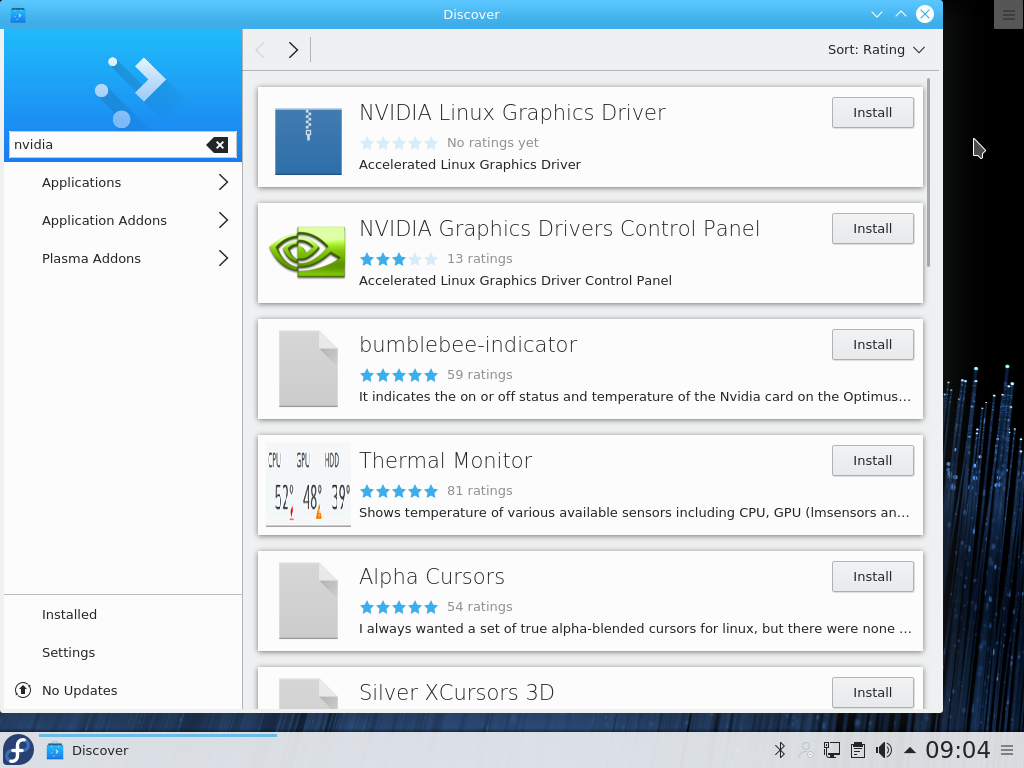
The default install gave me a desktop at 1,024 px × 768 px, which seemed a bit of a waste of the 4k TV that the computer is plugged into. Fortunately, the official nVidia driver is available once the extra package repositories have been installed and the nVidia one has been enabled by the following commands: dnf install fedora-workstation-repositories and dnf config-manager --set-enabled rpmfusion-nonfree-nvidia-driver as root. To install the driver, I opened up Discover, searched for nVidia and hit Install (installing the driver also installs the control panel).
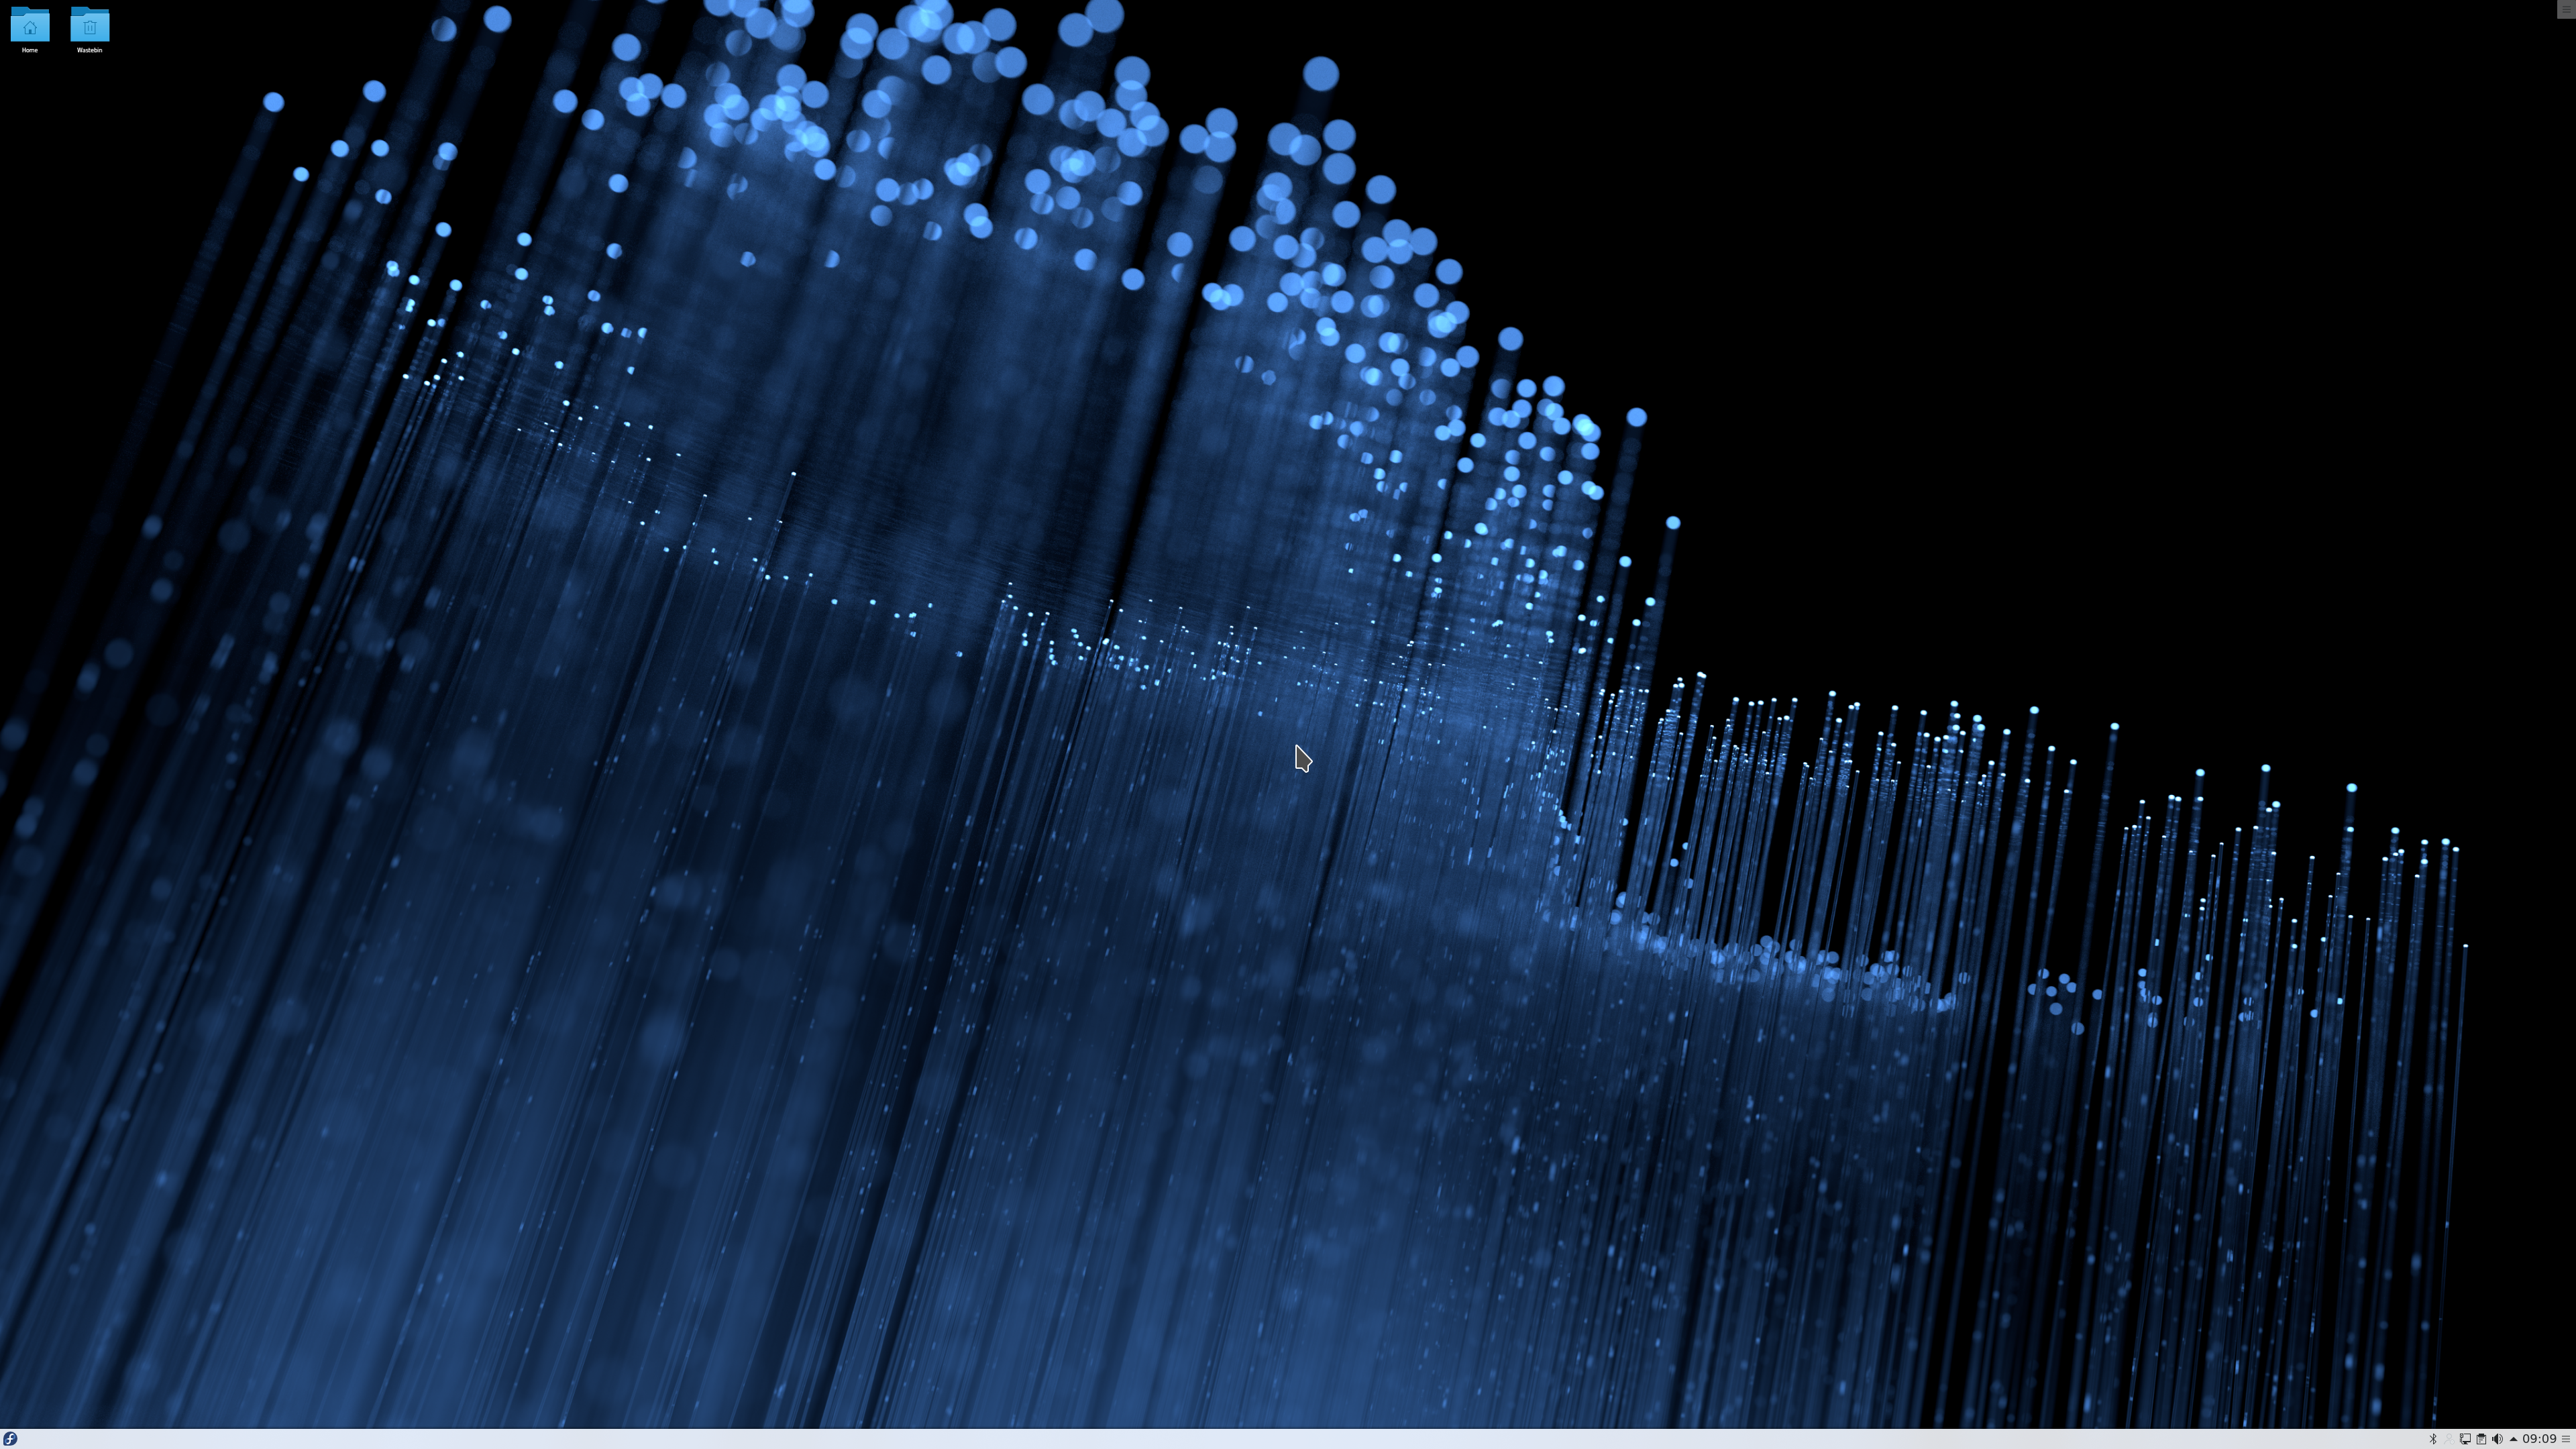
After a tactical reboot I was greeted by this much more sensible 3,840 px × 2,160 px desktop.
The next task was to enable scaling of the desktop so that it is readable without a telescope from the sofa. Fortunately this has improved an awful lot in the past few years with the proliferation of hi-resolution screens. I opened up the Displays tab in the System Settings and hit Advanced Settings to open up the Screen Scaling dialog box.
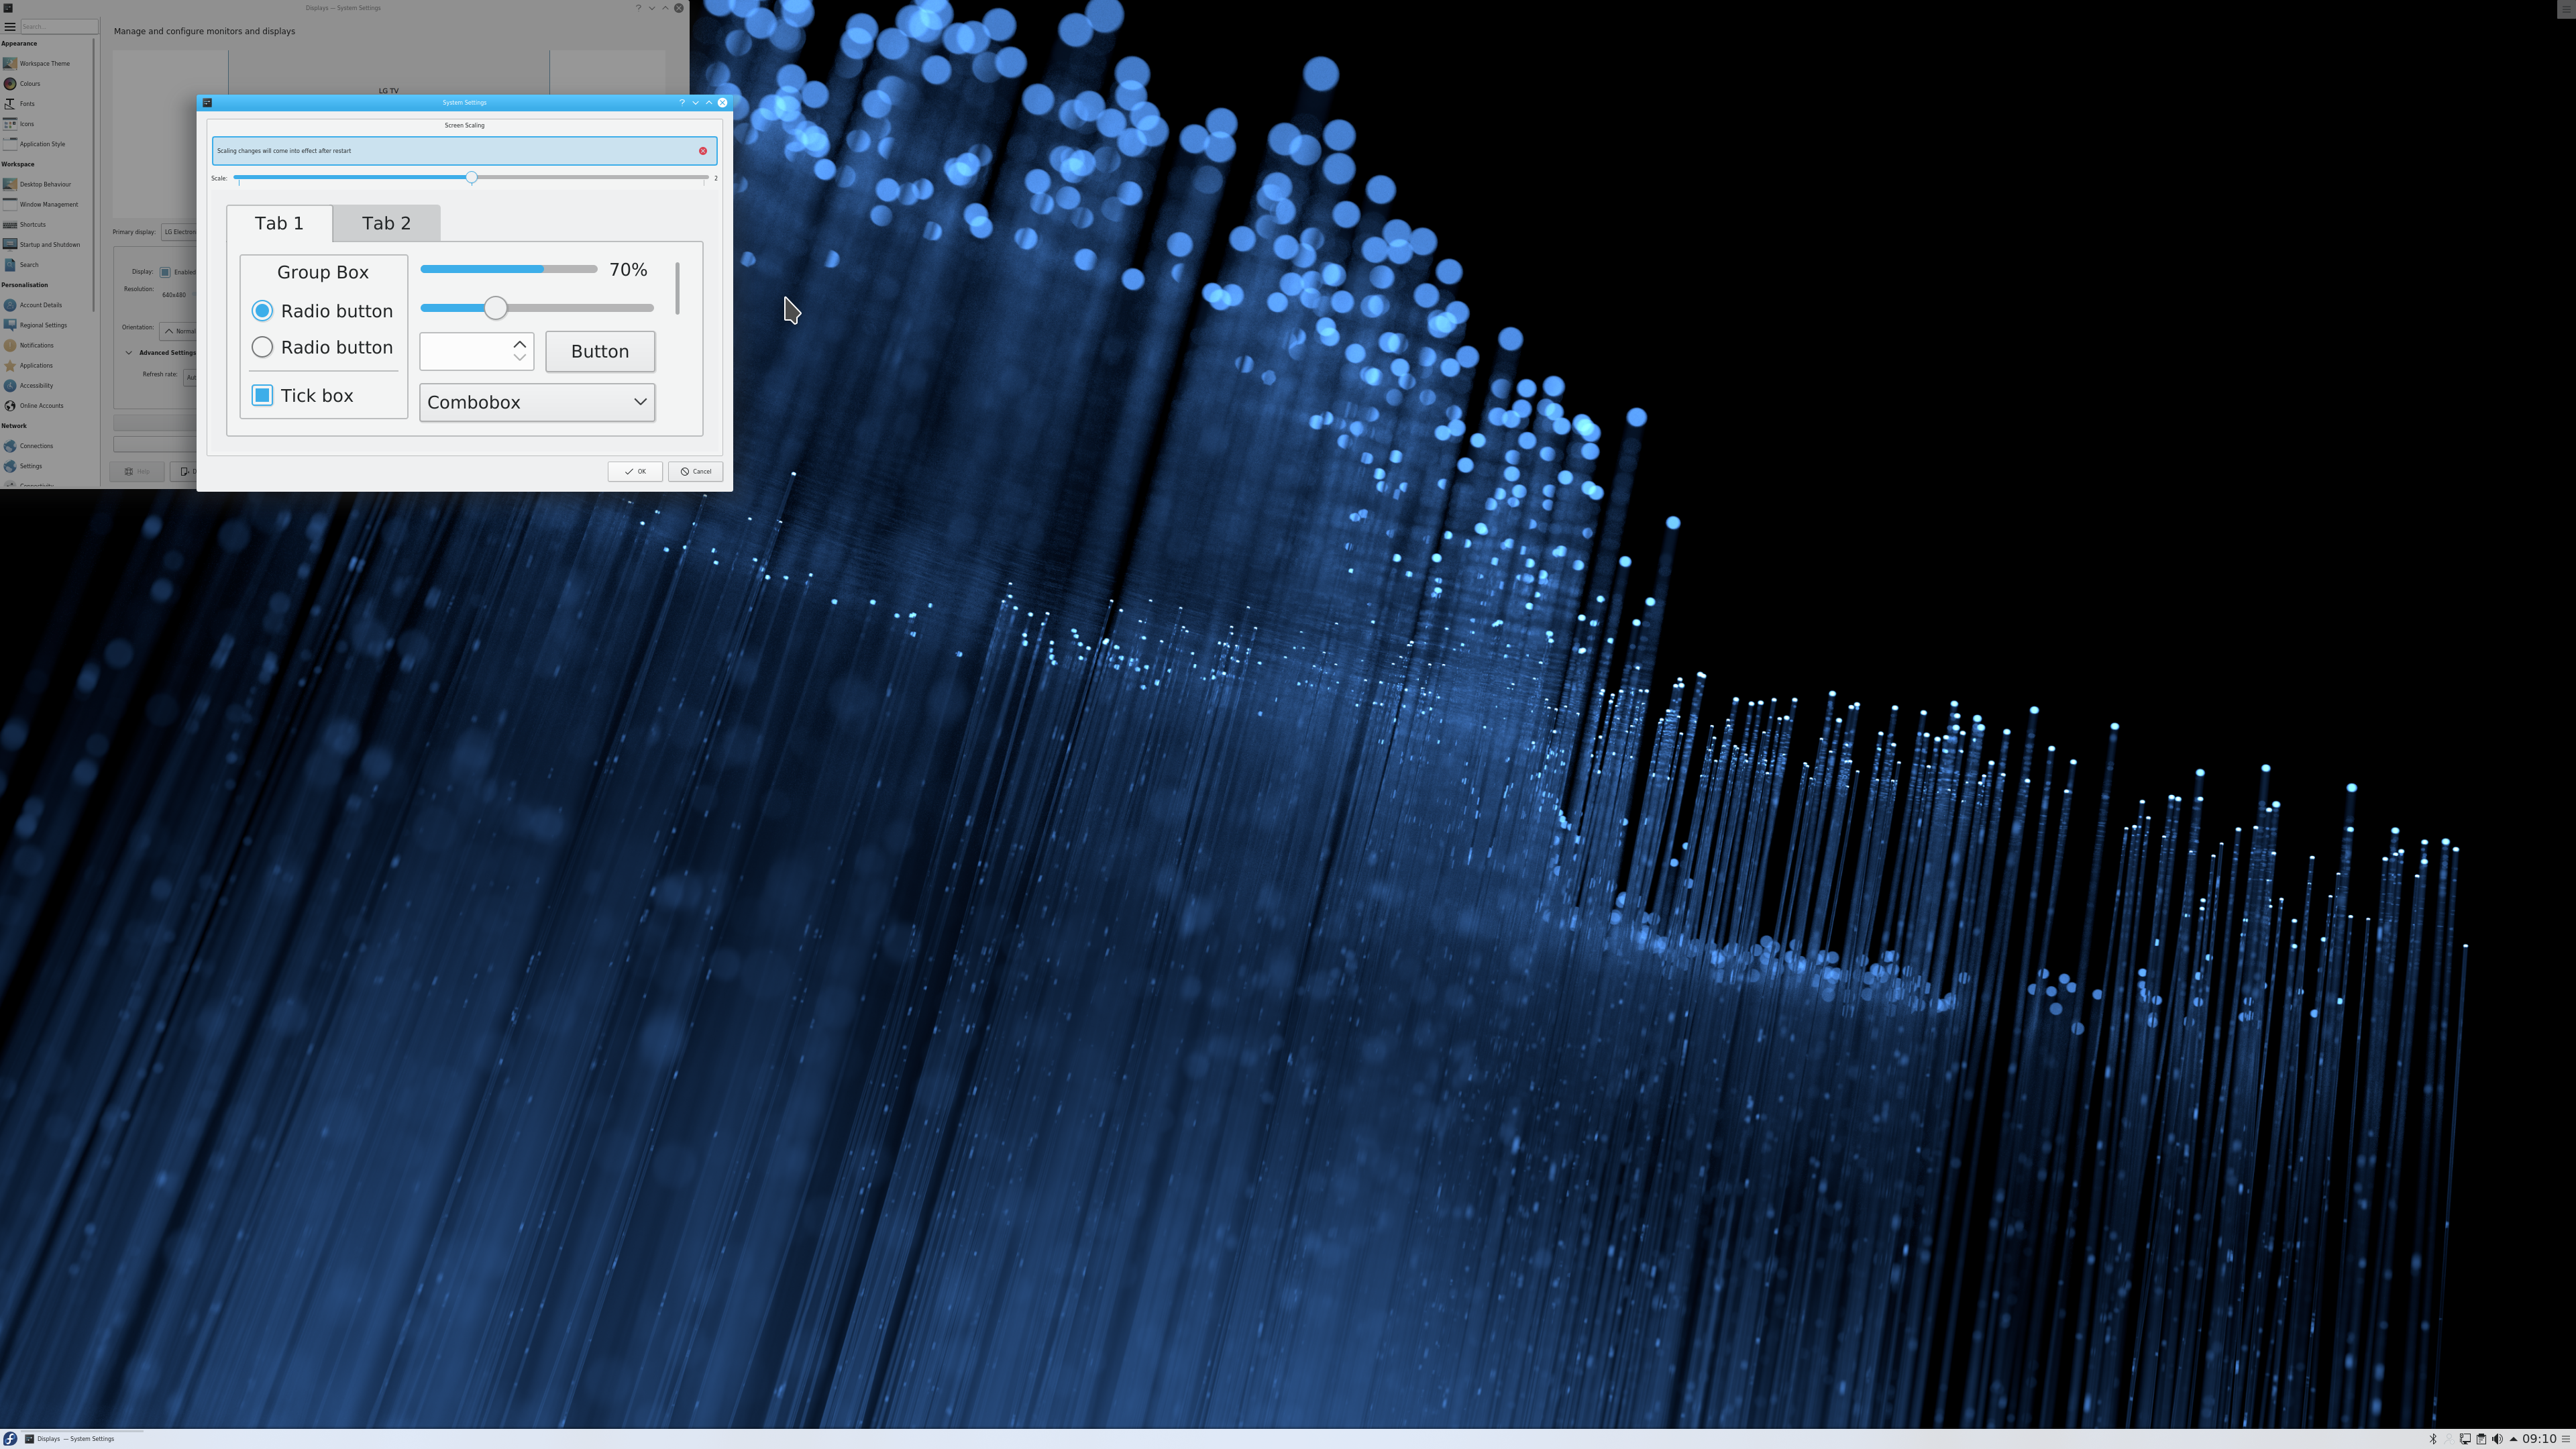
Setting the scaling to 2 and another tactical reboot gave me a 3,840 px × 2,160 px desktop with a sensibly sized font and GUI elements.
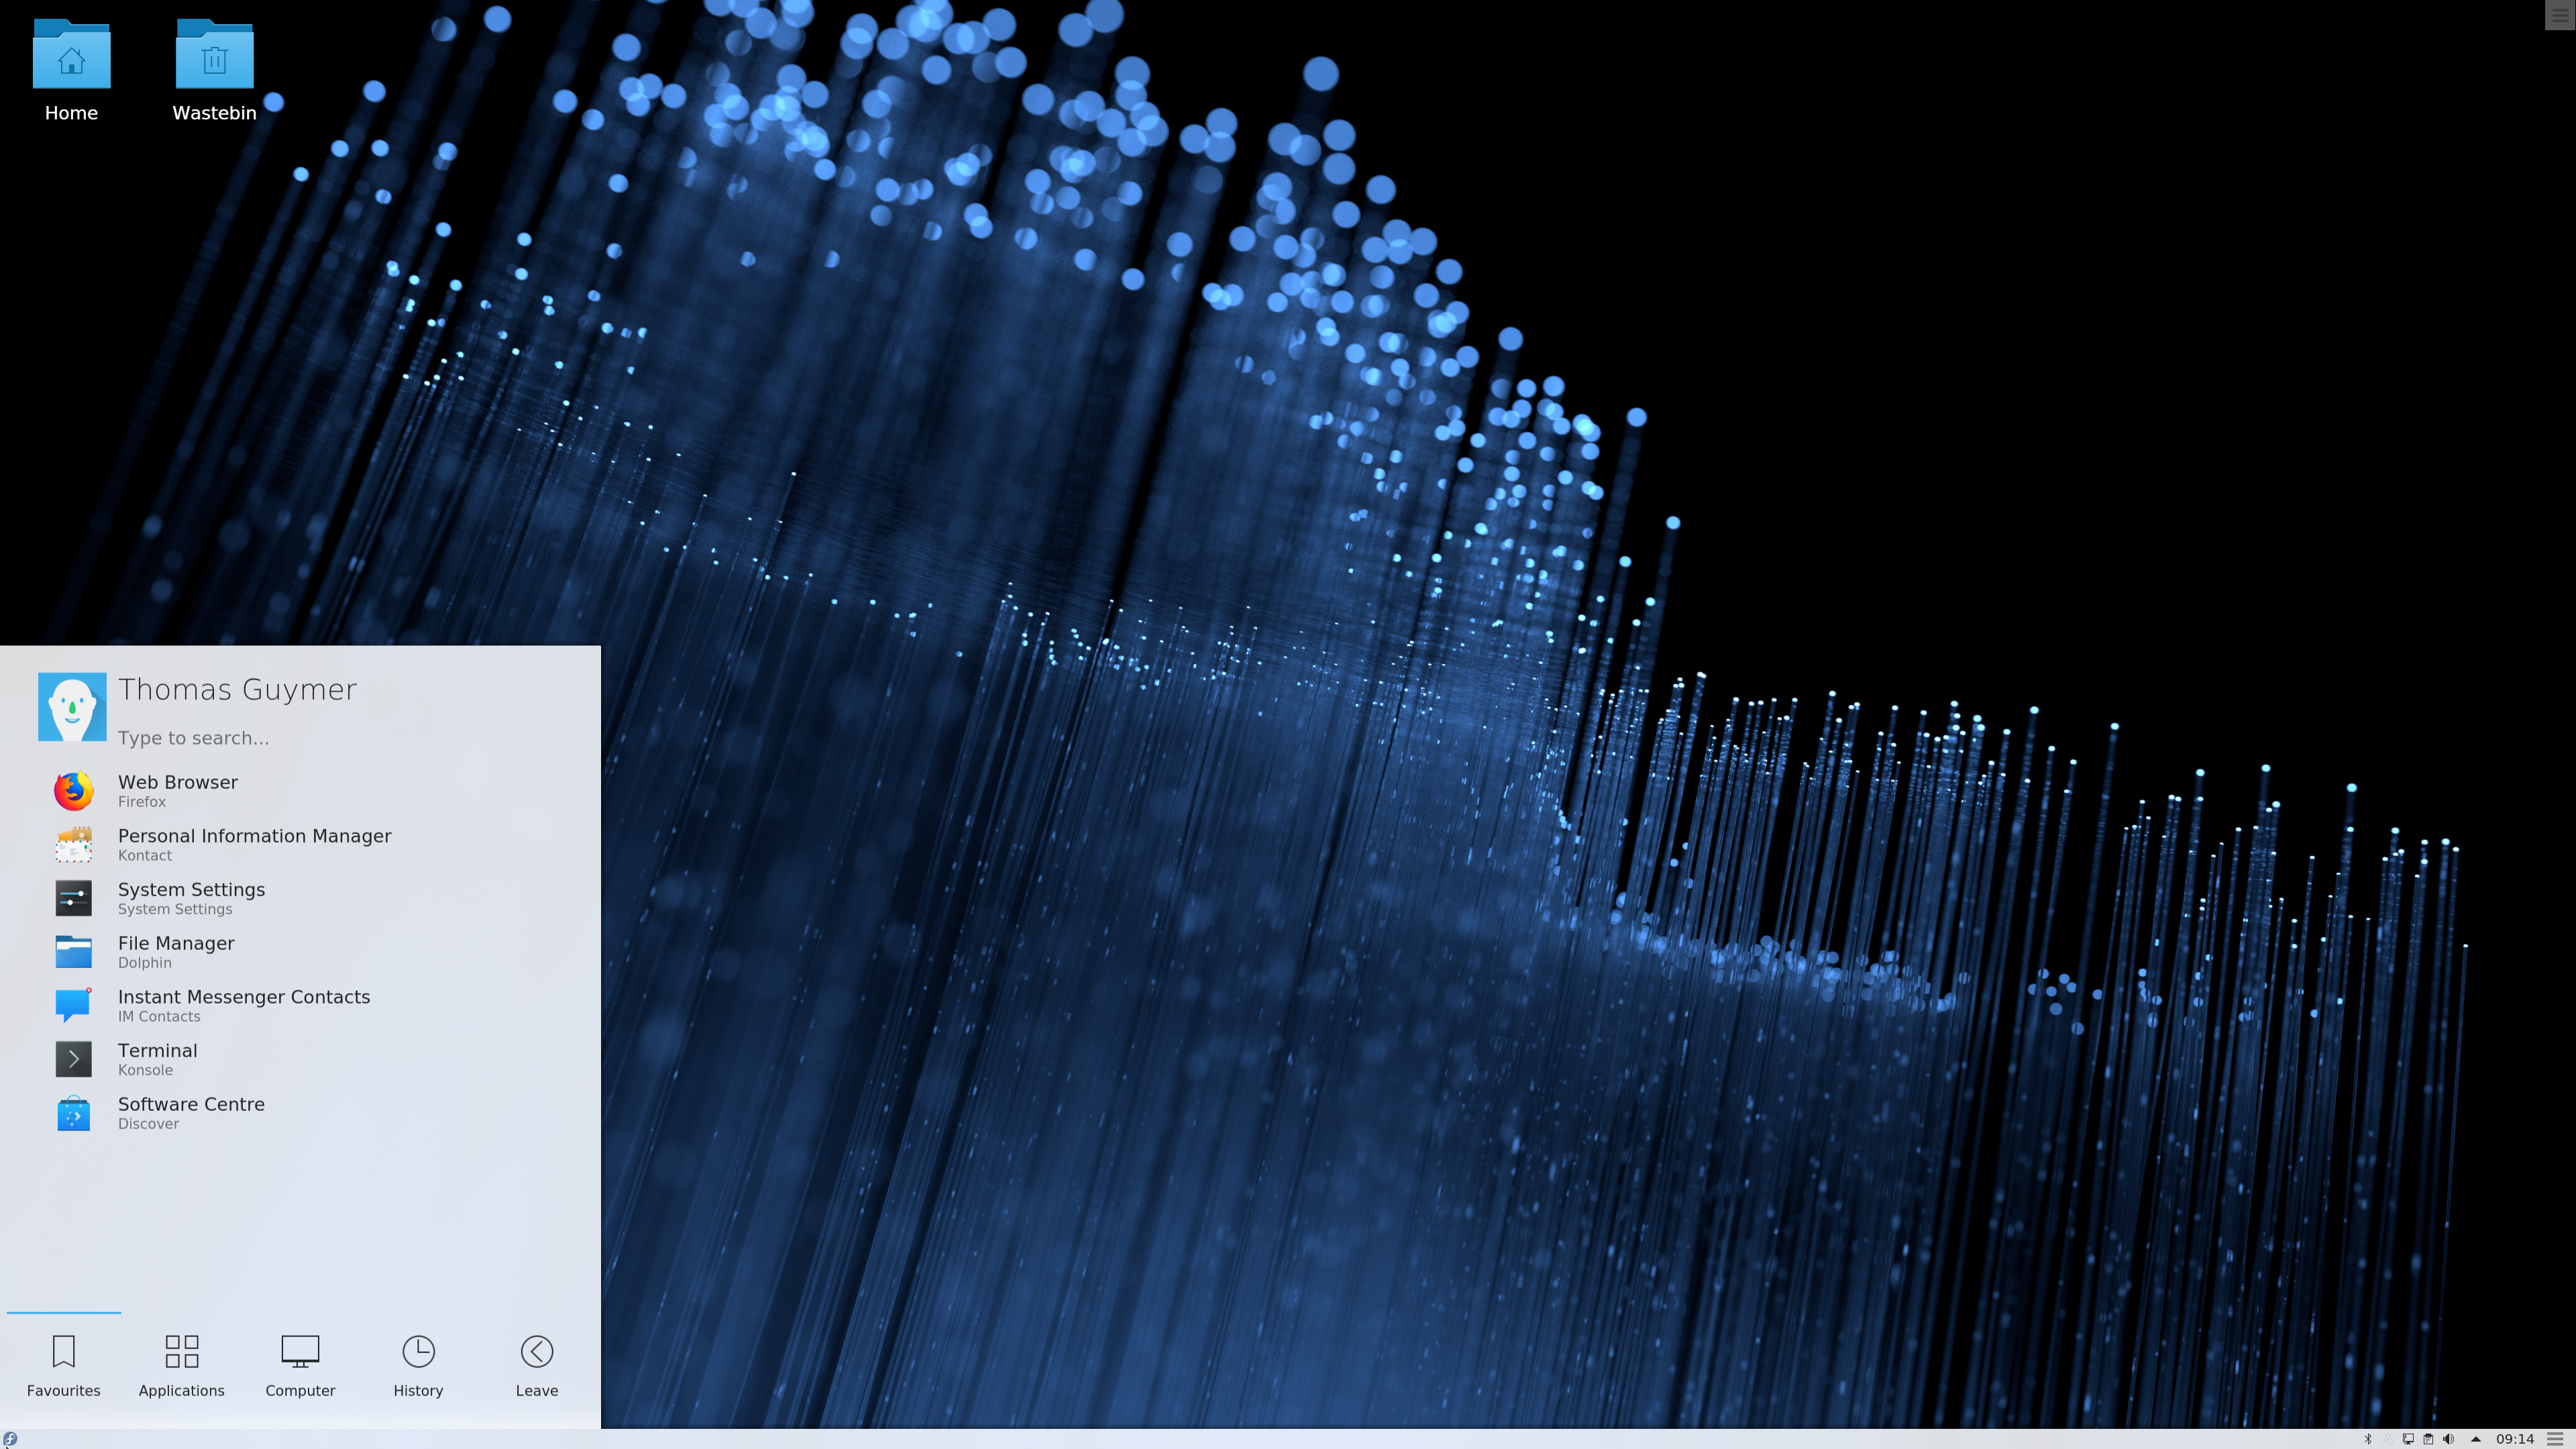
As the screen scaling is a KDE feature (not a system feature) it does not affect the login screen, which still appears tiny (I can live with this though). In the above screenshot, the reason why the task bar is not scaled is because it is defined as a pixel height - note that the desktop icons and menu entries appear much better than they did earlier.
§3 Enabling sshd
Finally, to get started with accessing my servers I needed to start and permanently enable the sshd service with the following commands: systemctl start sshd.service and systemctl enable sshd.service as root.
§4 Enabling (& Installing) Non-FOSS
As with all Linux distributions, Fedora is unable to provide their distribution with non-FOSS binaries, such as a lot of the popular audio codecs. However, it is easy to add some extra repositories post-install that provide these packages. I chose to add the two RPM Fusion repositories by following their command line configuration guide using dnf install … as root. Once added, I installed the ‘core’, ‘multimedia’ and ‘sound-and-video’ package groups to get M4As working in Amarok.
§5 Upgrading To Fedora 29
Upgrading from Fedora 28 to Fedora 29 was incredibly easy. I simply ran the four dnf commands, as root, that can be found in the Fedora Wiki system upgrade article.